Introduction
In the previous post, we discussed hosting a static website using S3. In this post, we will enhance that setup by:
- Adding a CloudFront distribution to serve the static site.
- Restricting access to the static site so that only CloudFront can access it.
- Setting up origin access control in CloudFront.
Benefits of Using CloudFront to Distribute a Static Site
1. Faster Content Delivery
- Global Edge Locations: CloudFront caches the static site at multiple edge locations worldwide. When a user requests the site, CloudFront serves the content from the nearest location, reducing latency and improving performance.
- Reduced Latency: By delivering the content from servers closer to the user, CloudFront drastically cuts down on latency, especially for users far from the S3 bucket’s region.
2. Improved Security
- HTTPS Support: CloudFront enables easy SSL/TLS encryption, allowing the site to be served over HTTPS, ensuring secure communication and protecting against attacks like man-in-the-middle.
- Custom SSL Certificates: You can also use custom SSL certificates with CloudFront to secure your static site using your own domain. We will cover this in future posts.
3. Scalability and High Availability
- Automatic Scaling: CloudFront automatically scales to handle traffic spikes. In case of sudden surges in traffic, it manages the load without extra configuration.
- Redundancy: CloudFront’s global network of edge locations ensures redundancy, providing high availability even during regional outages.
4. Cost Efficiency
- Reduced S3 Costs: By caching content at the edge, CloudFront minimizes the number of requests made directly to the S3 bucket, lowering costs.
- Pay-as-You-Go Model: Like S3, CloudFront operates on a pay-as-you-go model, so you only pay for the data transferred and the requests processed.
5. Customizable Content Delivery
- Lambda@Edge: You can use Lambda@Edge to run custom logic, such as URL rewrites or adding security headers. We will cover how to use Lambda@Edge in a future post.
- Geo-Restriction: CloudFront allows you to restrict access to your site based on the geographical location of users, which is useful for legal or compliance reasons.
Adding a CloudFront Distribution
In this section, we will create the Terraform configuration needed to set up a CloudFront distribution that uses the S3 bucket as its origin. Here’s a first look at the configuration:
# cloudfront.tf
data "aws_cloudfront_cache_policy" "policy" {
  name = "Managed-CachingOptimized"
}

resource "aws_cloudfront_distribution" "static_site_distribution" {
  origin {
    domain_name         = aws_s3_bucket.site.bucket_domain_name
    origin_id           = aws_s3_bucket.site.bucket_regional_domain_name
    connection_attempts = 3
    connection_timeout  = 10
  }

  enabled             = true
  is_ipv6_enabled     = true
  comment             = "Distributes the static site."
  default_root_object = "index.html"

  default_cache_behavior {
    cache_policy_id        = data.aws_cloudfront_cache_policy.policy.id
    allowed_methods        = ["GET", "HEAD"]
    cached_methods         = ["GET", "HEAD"]
    target_origin_id       = aws_s3_bucket.site.bucket_regional_domain_name
    viewer_protocol_policy = "redirect-to-https"
    compress               = true
  }

  restrictions {
    geo_restriction {
      restriction_type = "none"
    }
  }

  price_class = "PriceClass_All"

  viewer_certificate {
    cloudfront_default_certificate = true
    minimum_protocol_version       = "TLSv1"
  }
}
Breakdown of the Configuration
- Cache Policy: This references the AWS managed cache policy, Managed-CachingOptimized, which helps optimize content caching based on query strings, cookies, and headers.
- Origin Configuration:
- domain_name: Specifies the domain name of the S3 bucket that CloudFront will use as its origin.
- origin_id: A unique identifier for the origin (S3 bucket).
- connection_attempts and connection_timeout: These settings define how many times CloudFront will try to connect to the origin and how long it will wait before timing out.
- Default Cache Behavior: Defines how CloudFront handles caching and content delivery.
- allowed_methods: Specifies that only GET and HEAD requests are allowed.
- viewer_protocol_policy: Redirects all HTTP requests to HTTPS, ensuring secure connections.
- compress: Automatically compresses supported file types (e.g., CSS, JS) to improve performance.
- Geo-Restrictions: In this case, there are no geographical restrictions applied.
- Viewer Certificate: Uses the default CloudFront SSL/TLS certificate for HTTPS support.
- Price Class: Specifies the edge locations used for serving content, with
PriceClass_Allenabling global distribution.
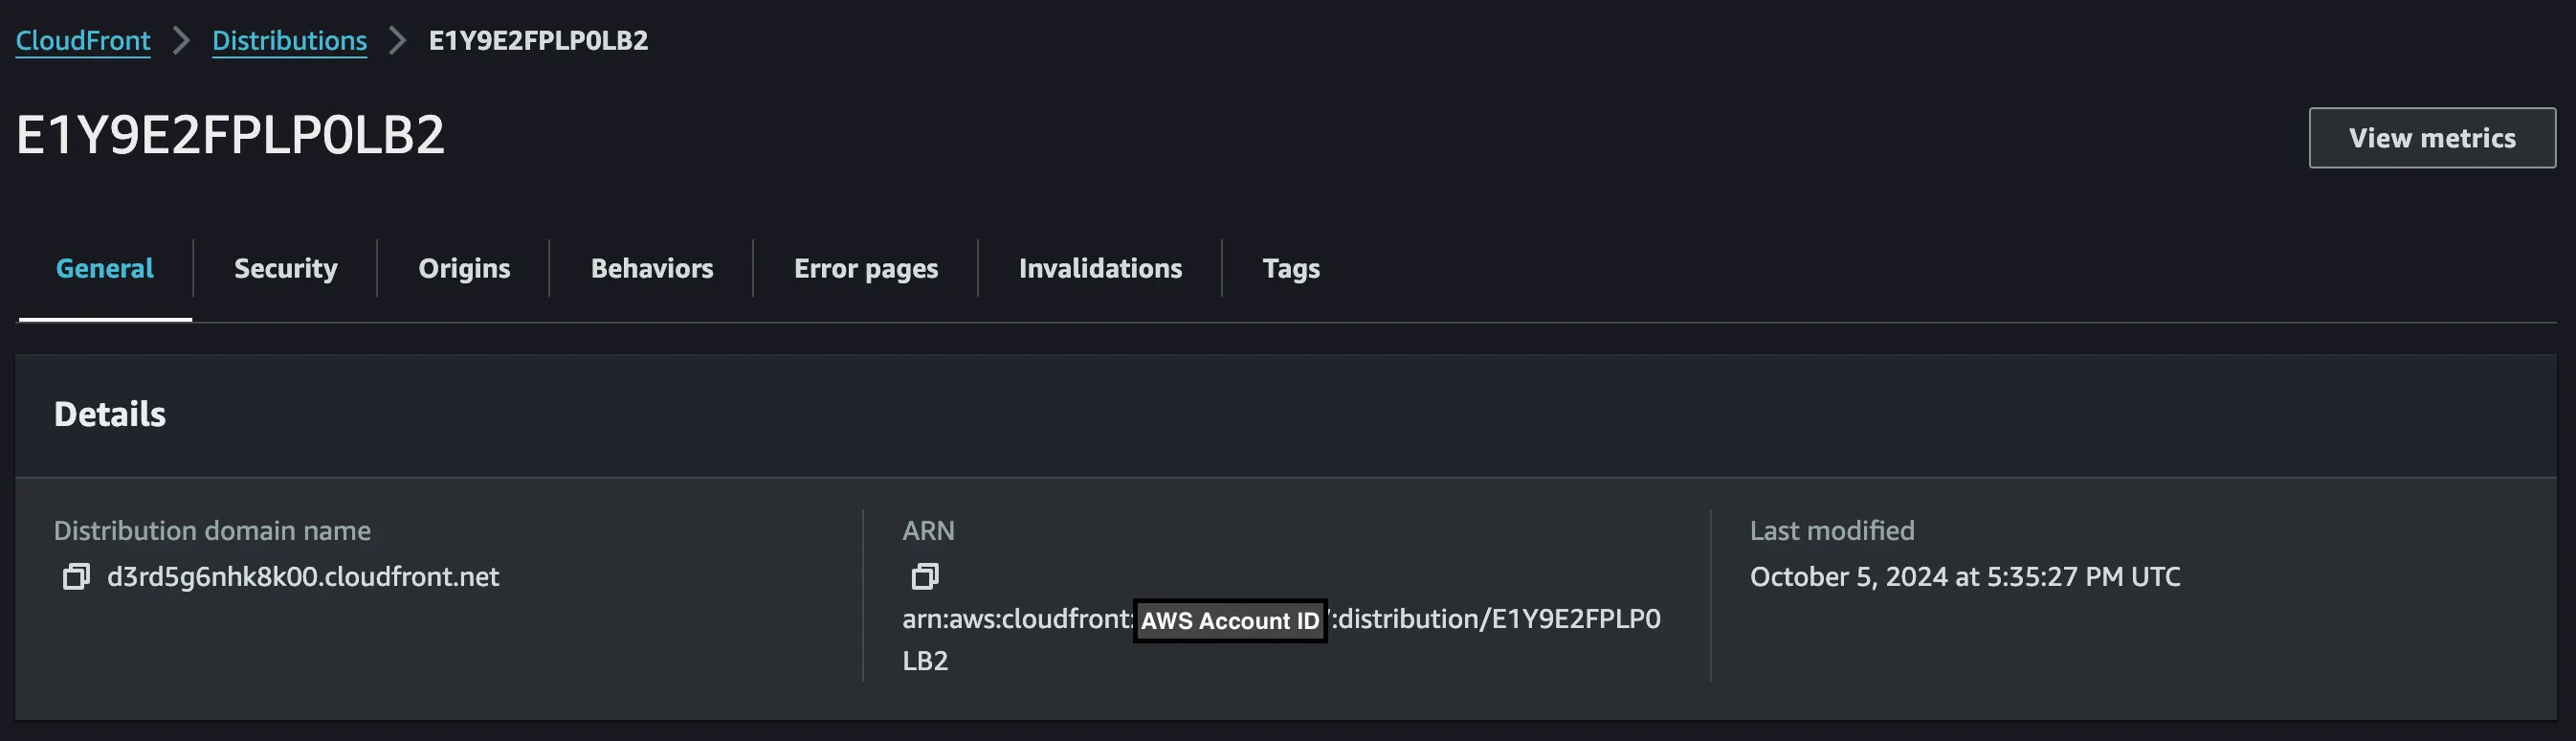
Testing the CloudFront Distribution
Once deployed, you can view your CloudFront distribution in the AWS Console. The distribution link will look like this:
Example: https://d3rd5g6nhk8k00.cloudfront.net
The problems
- Broken Links: Our static site generates an index.html for each post, but CloudFront doesn’t automatically load the file in subdirectories.
We will fix this by implementing a Lambda@Edge function in the next post.
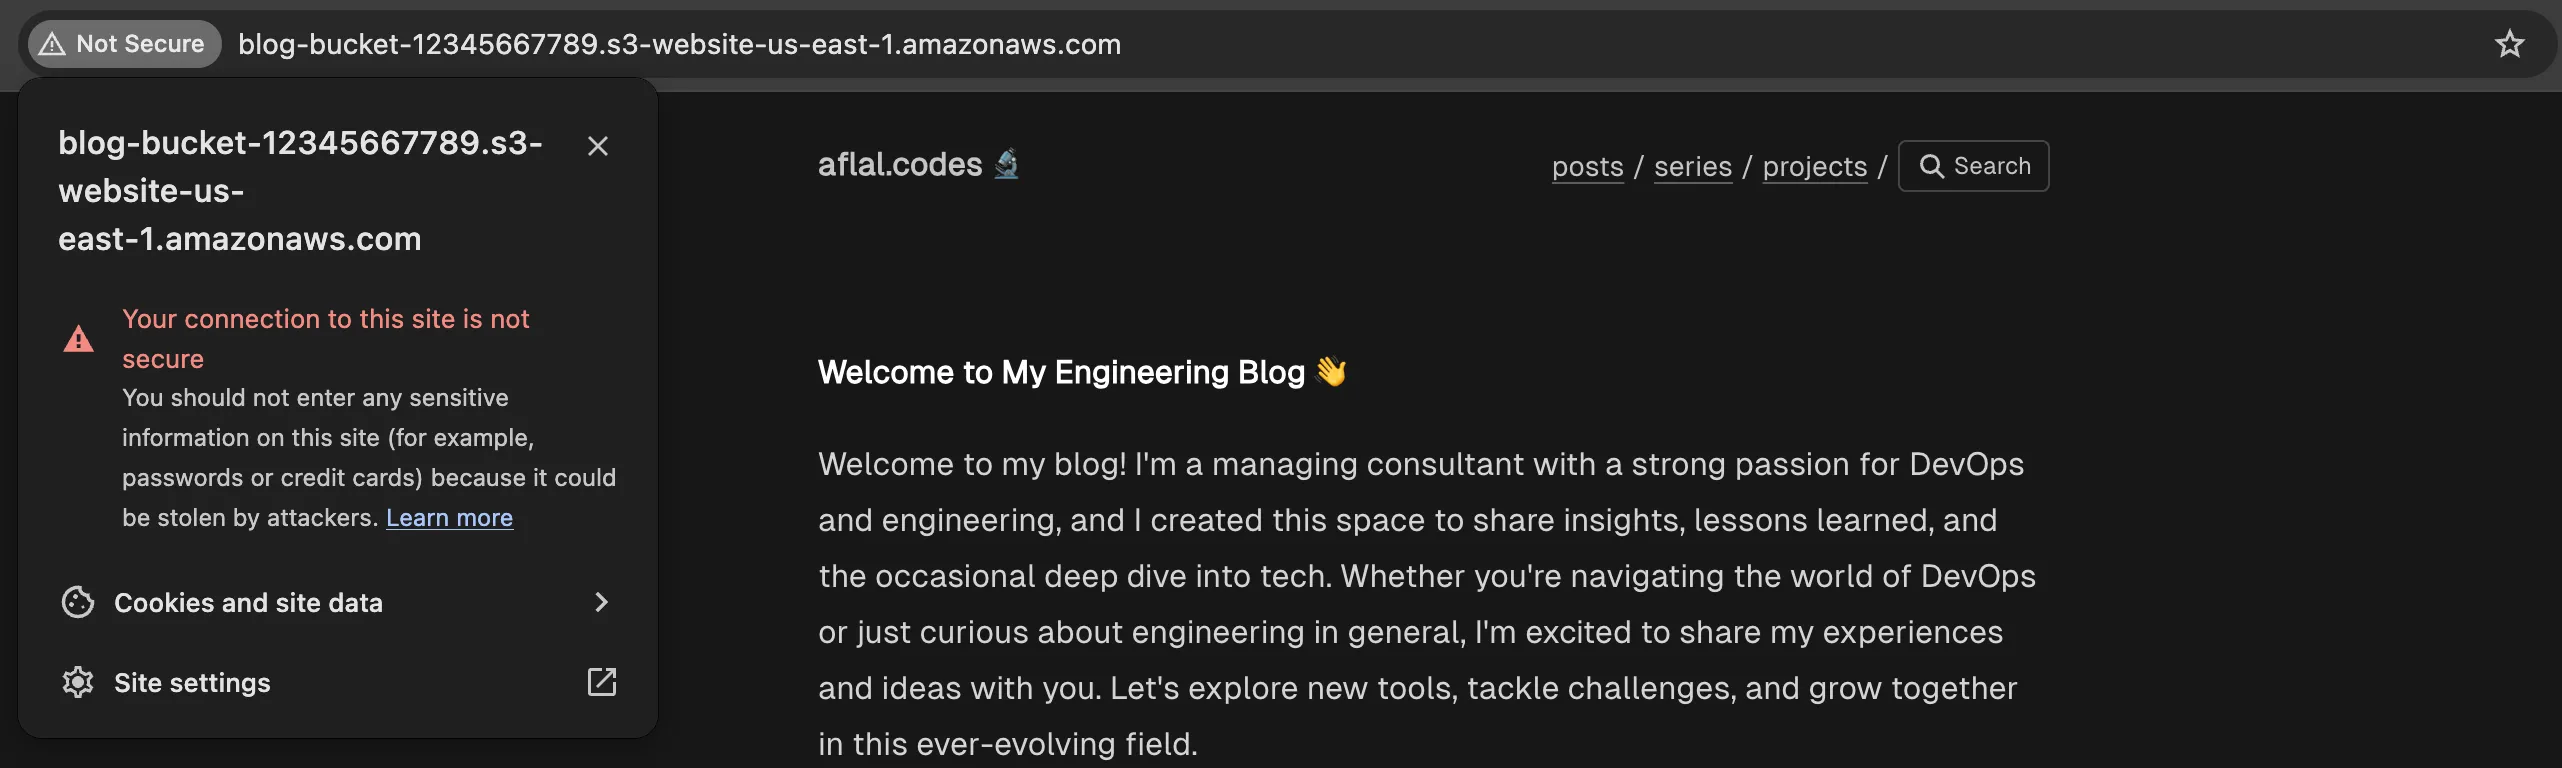
- Insecure S3 Access: Users can still access the site directly via the S3 URL, bypassing CloudFront.
- No Custom Domain: The site is still using the default CloudFront domain and SSL certificate.
We will resolve this in a future post by implementing a route53 domain, creating a new certificate using AWS Certificate Manager and associating the certificate to our custom domain.
Restricting Access to the Static Site via CloudFront
To improve security, we will now restrict access to the S3 bucket, ensuring that only CloudFront can retrieve the content.
Clean Up Unnecessary Resources
Remove these resources from the previous post:
aws_s3_bucket_public_access_block.enable_public_accessaws_s3_bucket_website_configuration.website_configaws_s3_bucket_policy.bucket_policyaws_iam_policy_document.s3_public_access_policy
Remove the variables.tf file. You will have a s3.tf file with a single s3 bucket resource,
resource "aws_s3_bucket" "site" {
  # Assign the bucket name directly to the resource.
  bucket        = "blog-bucket-12345667789"
  force_destroy = true
}
S3 Bucket Policy to Allow CloudFront Access
Add the following policy to grant CloudFront permission to access the S3 bucket:
# s3.tf
data "aws_iam_policy_document" "cloudfront_allow_bucket_read_policy" {
  statement {
    sid    = "AllowCloudfrontToGetObjects"
    effect = "Allow"

    principals {
      type        = "Service"
      identifiers = ["cloudfront.amazonaws.com"]
    }

    actions   = ["s3:GetObject"]
    resources = ["${aws_s3_bucket.site.arn}/*"]
    condition {
      test     = "StringEquals"
      values   = [aws_cloudfront_distribution.static_site_distribution.arn]
      variable = "AWS:SourceArn"
    }
  }
}

resource "aws_s3_bucket_policy" "allow_access_to_cloudfront_to_site_bucket" {
  bucket = aws_s3_bucket.site.bucket
  policy = data.aws_iam_policy_document.cloudfront_allow_bucket_read_policy.json
}
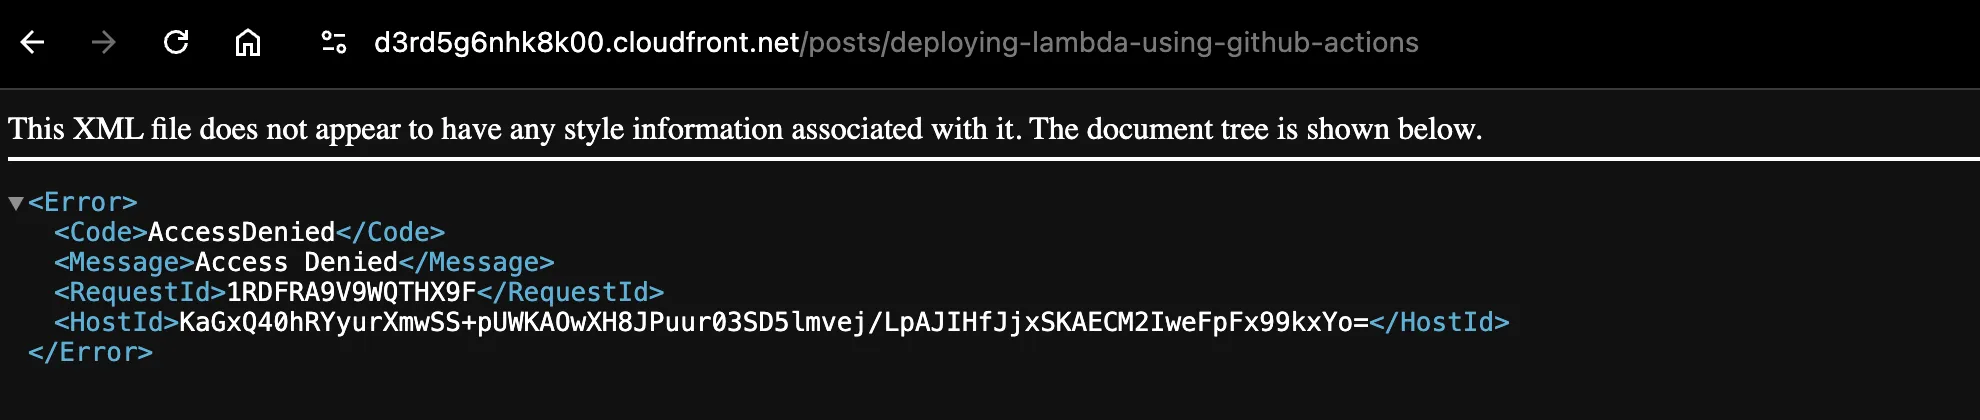
At this point, the CloudFront cache stores your site, allowing it to load normally when accessed via the CloudFront domain name. However, once the cache expires, CloudFront no longer has the necessary permissions to retrieve content from the S3 bucket. As a result, any request sent to the origin will fail, leading to an error similar to the one shown below.
You can replicate this by either,
- Easiest: Invalidating the cloudfront cache. You can do this from the AWS console.
- Recreating the cloudfront distribution using the terraform command
terraform taint "aws_cloudfront_distribution.static_site_distribution". The next time you run terraformplanandapply, it will recreate the distribution.
We will fix the permission issue by adding an Origin Access Control resource, we look at this in the next section.
Adding Origin Access Control to CloudFront
To securely fetch content from S3, CloudFront uses Origin Access Control (OAC), adding authorization headers to its requests. Here’s how to configure it:
# cloudfront.tf
resource "aws_cloudfront_origin_access_control" "oac" {
  name                              = aws_s3_bucket.site.bucket_regional_domain_name
  description                       = "The OAC for cloudfront to access site s3 bucket."
  origin_access_control_origin_type = "s3"
  signing_behavior                  = "always"
  signing_protocol                  = "sigv4"
}

# Existing cloudfront distribution resource, used for showing the origin access control changes.
resource "aws_cloudfront_distribution" "static_site_distribution" {
  origin {
    domain_name              = aws_s3_bucket.site.bucket_domain_name
    # Reference the aws_cloudfront_origin_access_control resource here
    origin_access_control_id = aws_cloudfront_origin_access_control.oac.id
    origin_id                = aws_s3_bucket.site.bucket_regional_domain_name
    connection_attempts      = 3
    connection_timeout       = 10
  }
  ...
You can now access the site using the CloudFront domain name. While the homepage loads correctly, the other pages will not load due to missing permissions. This issue was covered earlier in this section, and we’ll resolve it in the next post.
Conclusion
By integrating CloudFront with our S3 hosted static site, we’ve taken a significant step toward enhancing performance, security, and scalability. CloudFront’s global edge locations ensure faster content delivery, while its HTTPS support and customizable features provide a secure and efficient way to serve static content. We also secured our S3 bucket by allowing only CloudFront to access it, further improving security.
However, there are still some issues to resolve, such as handling broken links and setting up a custom domain. In the upcoming posts, we will address these by implementing Lambda@Edge to fix the broken links, configuring a Route 53 custom domain, and setting up SSL certificates with AWS Certificate Manager.
Stay tuned for these improvements as we continue optimizing the static site hosting setup on AWS!